One of my favorite things to talk about is, obviously, keeping your gear organized as an athlete. And the number one time-waster we hear about from coaching clients and people who follow along with the podcast is Stuff Not Being Charged. And it happens! With so many darn chargers and cords and cables all over the place, and now, SO many things to charge for every single ride or run, no wonder it’s an issue. I remember when I first started running and cycling: I left the house with my tiny MP3 player with AAA batteries and wired headphones, plus a Timex watch, and my cycling computer didn’t record data, it just showed me speed and lasted FOREVER on its tiny battery. Now? My Airpods need to be charged. My COROS needs to be charged (thankfully, the battery does last forever, but still!). My Garmin needs to be charged for rides. My headlamp, my bike lights, the Oura and Whoop that I’m testing—ALL need to be charged regularly, and I know I’m not the only one. Heck, depending on what bike you’re on, your bike itself may need charging (or at least, the shifters do).
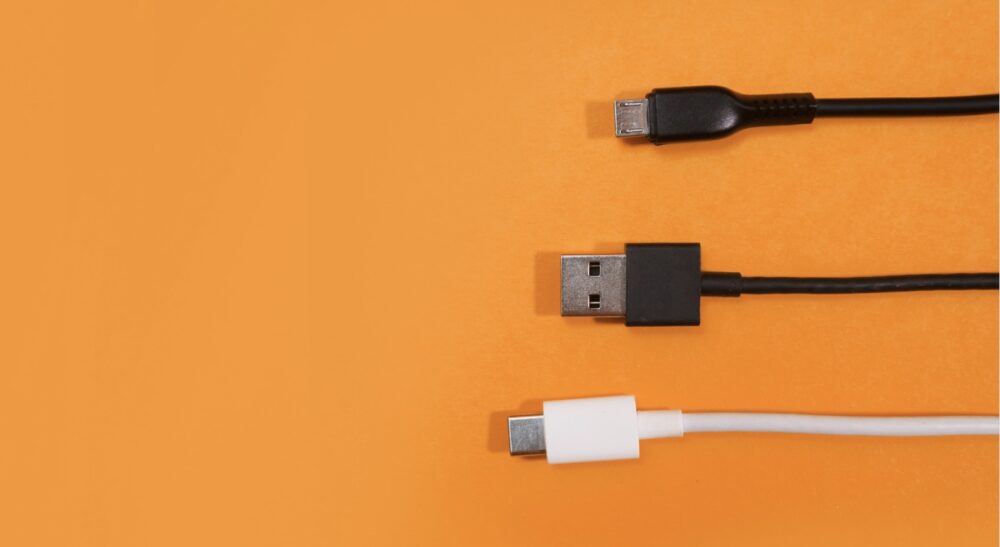
That’s a lot of USB chargers, and if you’re like most people, they’re scattered all over the house. I had mine mostly organized in a desk drawer, but over the years, it had started to get a bit out of control. I had my old bluetooth headphones, my old Garmin watch, my old cycling computer… and probably a dozen random charging cables that were extraneous to my everyday athletic charging needs.
So, I decided it was time to organize my charging station and simplify it. I thought I’d share to not necessarily create a how-to, since it depends on your space and where your gear is stored, but to hopefully give you some idea of how to set one up for yourself. I opted to get this 6-port USB charger (get in Canada) with a long cable based on how I was going to use my desk drawer (and drill a hole in the back for the cord to run through) but you may prefer a fancier pre-organized charging station like this one (get in Canada)… just do a bit of measuring and considering before ordering something that has compartments!).
Honestly? I love it. It took under 30 minutes to put together, but saves so much time and energy now that my electronics a) have a nice place to live, b) can all go on chargers at the same time, no swapping for power required, and c) are easy to grab all at once when getting ready to ride/run. You’ll notice in the video here, I don’t focus a ton on making it perfectly aesthetic—it’s just practical. I’m always tempted to try to make it more Pinterest-y, but at the end of the day (or end of a long run, really) I just want to be able to easily grab and go.
If you’re like us and travel a lot, I do recommend getting second cables when you’re traveling a lot and you use something regularly—it’s so nice to just have your primary cables pre-packed in a travel bag so you’re never fiddling with unplugging and replugging. I just got a new spare COROS charger for this exact reason!
And get yourself organized with these handy charging setups:
Before you go, check out our book, Becoming A Consummate Athlete, right here:


