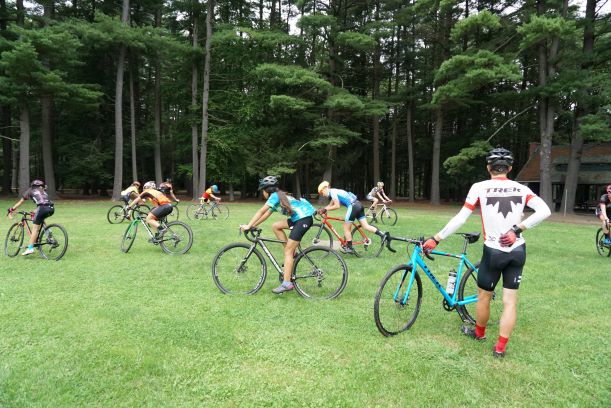
Cyclocross season is coming up, and you’re already thinking about skills training, right? RIGHT?! I know after we released the recent Consummate Athlete Podcast with Kaitie Keough, I started getting pretty fired up. Every year that I’ve raced cyclocross, one of my major focuses has been skills, whether it’s cornering or obstacles, and the dreaded dismount/remount. While I’m not going to get into the actual how-to of those skills in this article, I am going to tackle what seems to be a sticking point for plenty of people: making a set of cyclocross barriers to practice.
You can make a set using just a few supplies (only 3 are 100% mandatory) and it takes about 15 minutes. Note that these will not stand up to bunnyhopping unless you actually clear them… No running into them and hoping for the best, or setting your front wheel on top of them to make it over.
I’ve made so many different iterations of these PVC barriers over the years, and I think this is finally my most efficient set!
What you need:
- 4 1-inch 3-Way Tee PVC Fitting elbows ($11) — I had a hard time finding these at Home Depot when I built previous sets and ended up having to make more T-shaped ones that were nowhere near as sleek-looking, so I recommend just ordering online!
- 2 pieces of 1-inch PVC pipe, about 10-12 feet each (you can grab this at Home Depot for a few bucks, or order four 5-foot pieces on Amazon here)
- Hacksaw (or specific PVC cutter)
- Elastic or glue
- 4 1-inch PVC Endcaps ($10)
- For a travel set, you’ll need two 1-inch PVC joiners to make your barriers break down to half the length
- For a travel set, you’ll want a longer bag (like a laundry bag) to store them
General note: if you want a sturdier setup, go for 1.5-inch or even 2-inch PVC (but make sure all of your endcaps and joiners are the matching size!)… I prefer 1-inch as it’s sturdy enough for running over, but thin so it’s super easy to toss the set in the van.
What you do:
- Cut your first PVC pipes to make your actual tops of your barriers, between 5 and 6 feet long. (For a travel set, consider your needs and space in the car—even a 4-foot long barrier will offer plenty of room, without taking up much space in your car or condo!)
- If you’re making a travel set of barriers, cut the top of each barrier in half, and rejoin them using the 1-inch joiners (I wouldn’t do this if you’re just using them at home, as it obviously makes them easier to break in a boffed attempt… They go back together easily, but it’s still an added step!)
- Cut your other piece of PVC into 8 roughly 48cm pieces of pipe for the legs (to make 40cm high barriers)
- Using the 3-way fittings, stick two of the 48cm fittings into the openings (so that you have four 3-way pieces making up four barrier legs)
- Glue one leg to each 3-way fitting, but leave the other leg unglued
- Now, make a knot in your elastic at the end, and send it through the leg that ISN’T glued
- Cap off that leg with the tie of the elastic sticking out, so that it’s holding the elastic in place
- Send the elastic through the top part of the barrier, and down through the other unglued leg
- Pull so that there’s still plenty of give in the elastic but nothing is flopping (the goal here is to make the barriers easy to break down and put up)
- Tie off that end of the elastic and again, stick a cap on the end of the leg to hold the elastic in place
- (Repeat on the other barrier that you’ve made)
- Cap the other four legs
- Get practicing!
Note that if you’re not concerned about keeping them easy to set up and tear down, you can get away with just using the main pieces of PVC and the three-way joiners, and a PVC cutter to chop them up. Super simple!
Our next challenge is putting together a simple set of wooden barriers, but these are always great to have around even if you have a burlier set.
Also, PS: If you’re interested, Peter and I are working out a pretty intense clinic schedule, so if you have a club/crew and are interested in holding a skills clinic, hit us up!)
Speaking of barriers, though… I’ve been passionate about cyclocross skills for A LONG TIME. I remember learning to remount when I first started on Rutgers Cycling—the guys on the team spent weeks trying to get me to hop onto my bike effortlessly, but most of that just looked like me running next to my bike muttering 1-2-3-go! … and then not ‘going.’ It wasn’t great. And I admit, I learned a lot of bad habits that I had to unlearn a couple of years later.
A lot of the people I know fall into that category of learning to remount ‘cowboy style,’ which is pretty inefficient and also quite painful! Dismounts suffered from the same set of inefficiencies. Luckily, I married a cycling skills coach, so over the last few years, I’ve gotten a lot smoother. So I’m really stoked that Peter teamed up with Ryan Leech (the awesome trials rider turned MTB skills guru) to make this cyclocross remount and dismount course.
Even if you know how to remount/dismount, there are awesome drills and bits of advice for making getting on and off the bike a lot smoother, and I’m really excited with how the course turned out—it’s great for a beginner or novice CXer, but there are tons to be learned as a veteran as well. We all need to practice skills more: I’ve met and traveled with a ton of CX pros, and all of the good ones are the ones who regularly work on their skills.
Watch the trailer, and head over to the Ryan Leech Connection site to sign up to get informed the day the course opens—and get in on early bird pricing! The course will be launching early in September (they’re just putting the final touches on the videos now!) so it’s coming just in time for early CX racing!


